
Supported MIDI Bindings
We currently support binding midi controls to:
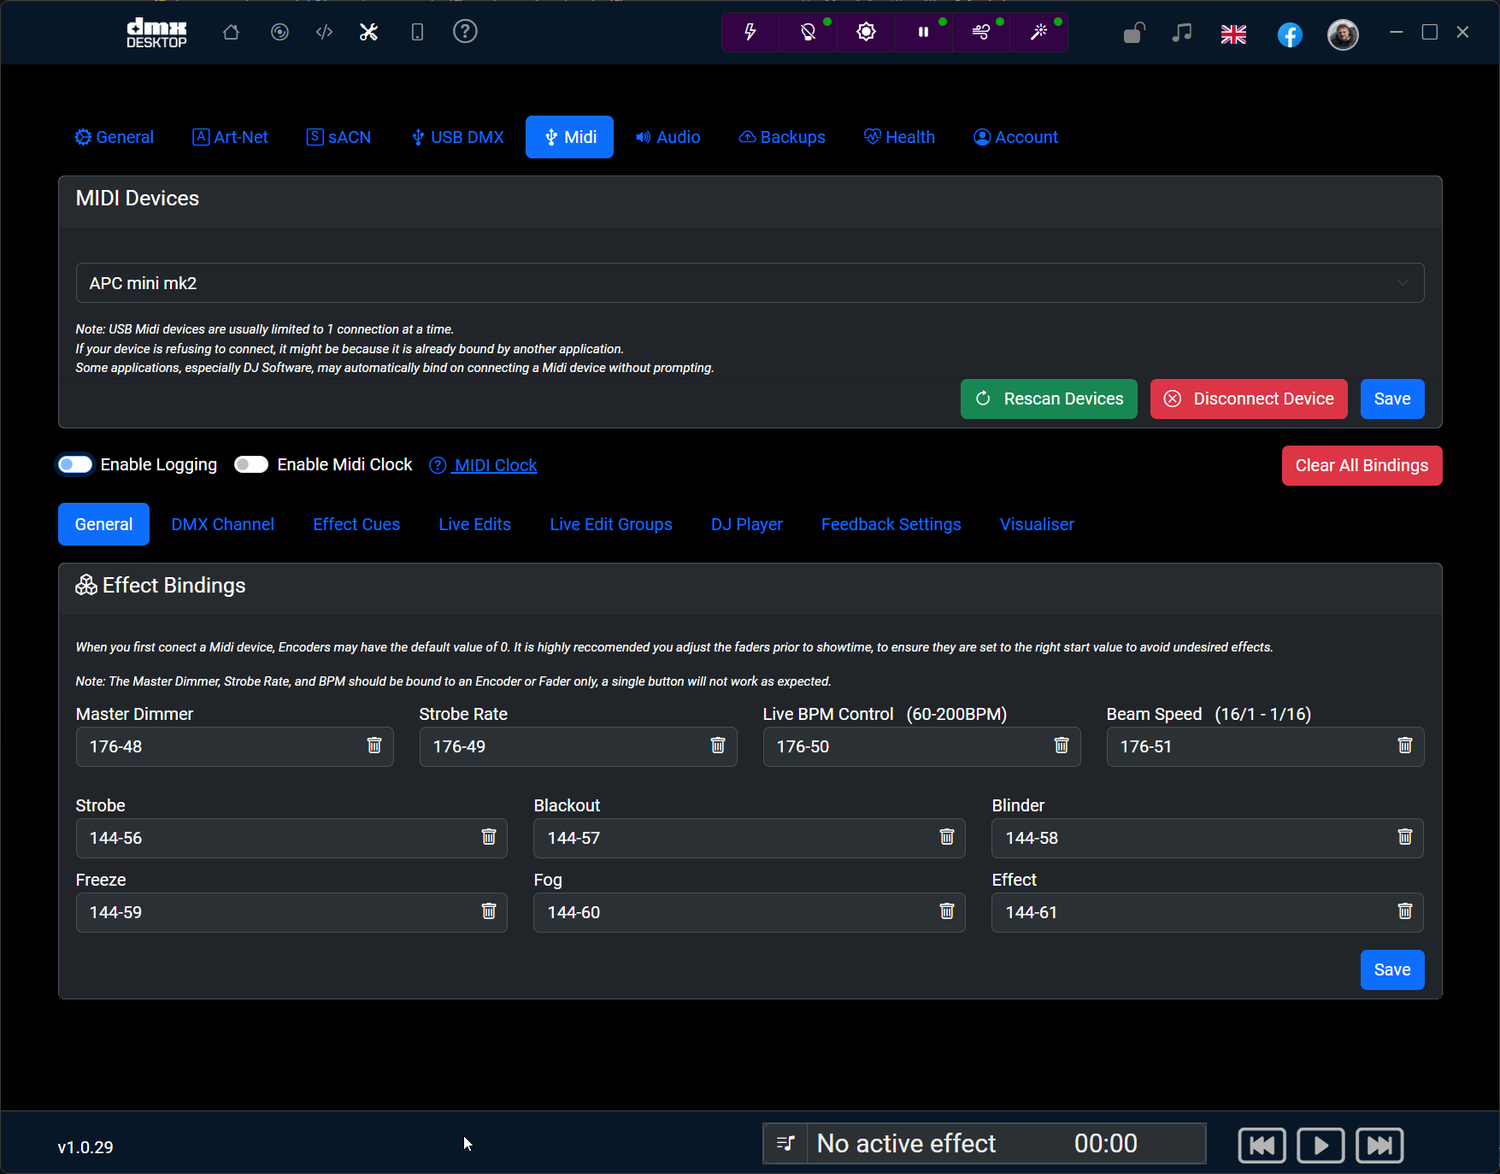
- Master Dimmer, Strobe Rate, Live BPM, Live Beam Speed
- Live Effects (Strobe, Blackout, Blinder, Freeze and Fog)
- Effect Cues
- Live Edits
- Midi Clock (See Midi-Clock for more info)
Remember, if you setup a live edit with a binding to a Live Effect key (for example Strobe) then it will also fire when triggered from Midi!
The Master Dimmer, Strobe Rate, and BPM should be bound to an Encoder or Fader only, a single button will not work as expected.
Live Beam Speed will override the Beam Speed set in the currently running Effect Cue, it will apply to ALL Groups in the Effect Cue, and be reset once the cue is stopped or another cue started.
Binding MIDI Controls
To bind a button, simply place your cursor in the box for the command you wish to program, and then press the key on your midi device you wish to bind to that command.
Remember to click Save on the section once you have filled in all the commands you wish to use. Each section is saved separately.
Network MIDI (RTP-MIDI) Support
As of DMXDesktop v1.0.30, you can now connect to Network MIDI (RTP-MIDI) devices over your local Wi-Fi or LAN. This makes it easy to control DMXDesktop wirelessly or from other networked devices-no USB cables required.
Compatible with Popular Tools
DMXDesktop now works seamlessly with any device or software that supports RTP-MIDI, including:
- Ableton Live – for triggering lighting cues alongside your music
- Stage Traxx 3 – commonly used in live performance setups to send MIDI cues
- Midiclock – for syncing tempo over the network
- TouchOSC/ Lemur / Playtime Engineering / iOS apps – as control surfaces
- Any Mac, PC, or mobile device with RTP-MIDI capability
How It Works
- Make sure both DMXDesktop and your MIDI-capable device/app are on the same Wi-Fi or wired network.
- On macOS, open Audio MIDI Setup > Network and create or join a session.
- On Windows, use the free rtpMIDI driver by Tobias Erichsen to set up a session.
- Once connected, DMXDesktop will list your network MIDI session as a standard MIDI input.
💡 This is ideal for wireless MIDI controllers, syncing with show control software, or running fully automated cue-based setups.
Understanding How DMXDesktop Binds MIDI Messages
DMXDesktop is designed to be flexible, allowing you to use a wide variety of MIDI controllers. To do this effectively, it interprets different types of MIDI messages for different kinds of controls.
Standard Controls: Buttons vs. Faders/Knobs
There are two primary ways MIDI controls are handled:
- Buttons (Note On/Off Messages): For any action that is a simple toggle (like turning a strobe on or off, or activating a specific cue), the application expects a Note On message to activate and, in some cases, a Note Off message to deactivate. Most MIDI controllers with pads or buttons send these types of messages by default.
- Variable Controls (Control Change - CC Messages): For any control that requires a range of values (e.g., setting the master dimmer, adjusting the BPM, or changing the strobe rate), the application expects a Control Change (CC) message. These messages send a value between 0 and 127, which DMXDesktop intelligently maps to the appropriate range for that control (e.g., 0-255 for a dimmer, or a specific BPM range).
Advanced Binding: Using Faders or Knobs as Buttons
We understand that some MIDI devices, especially foot pedals, may only send Control Change (CC) messages, even for their "buttons". To support these devices, you can bind a CC-sending control to functions that typically expect a button, such as Live Edits and Effect Cues.
When you do this, DMXDesktop interprets the CC message values as follows:
- A value of 127 is treated as ON.
- A value of 0 is treated as OFF.
- Any other value between 1 and 126 is ignored.
Behavior for Live Edits
- Latching (Default): When you press the control (sending a value of 127), the Live Edit will toggle its state (turning on if it was off, and off if it was on).
- Momentary: If you have configured the Live Edit as "Momentary" in the binding settings, pressing the control (value 127) will activate it, and releasing it (value 0) will deactivate it.
Behavior for Effect Cues
- When a CC message is bound to an Effect Cue, it is always an "ON" trigger.
- Sending a value of 127 will start the selected cue.
- This binding cannot stop the cue. To stop cue playback, you must create a separate MIDI binding (for another button, fader, or knob) and assign it to the "Stop Effect Cue" function.
Manually Mapping MIDI Controls
If you prefer to manually assign MIDI controls instead of using Direct Button Mode, you can do so by entering the MIDI message details directly into the input fields.
Valid MIDI Message Ranges
You can specify MIDI messages using the following ranges:
- MIDI Note On messages:
- Status byte range:
144to159(MIDI channels 1–16) - Note number:
0to127
- Status byte range:
- Control Change (CC) messages:
- Status byte range:
176to191(MIDI channels 1–16) - Controller number:
0to127 - Value:
0to127
- Status byte range:
Understanding Manual Button Mapping
When entering a Note On message manually (e.g., 144-50 for MIDI channel 1, note 50), DMXDesktop will automatically calculate the corresponding "Note Off" message by reducing the status byte by 16. This is based on the MIDI standard where:
144= Note On (Channel 1)128= Note Off (Channel 1)
So:
- ON =
144-50 - OFF (assumed) =
128-50
⚠️ When mapping manually, only the ON message is recorded. DMXDesktop will assume the OFF message is the same note with a status byte reduced by 16.
Difference from Direct Button Mode
- Direct Button Mode captures both ON and OFF messages from your MIDI device automatically when you press and release a button.
- Manual Mapping requires you to enter the ON value yourself. The OFF value is inferred and not captured from the device, which may lead to issues if your device sends non-standard OFF messages (e.g., velocity 0 Note On instead of actual Note Off).
Please Note: If you experience difficulties opening the midi device, please make sure you are not running other software which may have already exclusively opened the midi device, this is particularly a pottential issue if you start some DJ Software before you open DMXDesktop
As of v1.0.27 you may also configure Midi Feedback, to control the backlights of some devices