
Introduction
DMXDesktop is designed to be powerful yet beginner-friendly. Let's dive in and light up your stage!
When you first run the application, it comes with some example data in the Default stage, to get you started faster!
This includes:
- Several Effect Cues of different styles (Chilled, Party, Dance etc)
- 3 Groups - Primary, Secondary and the Alternate Group. You can add as many Groups as you like via the Add Group function on the Arrangement tab.
- Default General settings, such as Strobe and Blinder behaviours.
To send messages to your lighting, you must setup a method to communicate, you can do this via the Settings page, where you can configure ArtNET, sACN or USB DMX interfaces (or Drivers). If you do not have a DMX Driver enabled, you cannot run any effects and will see a message warning you that there are no active interfaces.
Install the Software
- Visit www.dmxdesktop.com and click Download.
- Choose the version for your operating system (Windows or macOS).
- Run the installer and follow the prompts.
- After installation, launch DMXDesktop from your Applications or Start menu.
💡 Tip: You don't need any hardware connected to explore the interface. You can patch fixtures and preview scenes even offline.
Connect Your DMX Interface
- Plug your supported USB DMX interface or connect to Art-Net/sACN over the network.
- DMXDesktop will detect most compatible devices automatically.
- Go to Settings → Interfaces to view and configure your DMX output.
- If your interface doesn't appear, make sure the correct drivers are installed (especially on Windows).
🔌 Supported protocols: USB DMX, Art-Net, sACN, RDM
🧰 For a full list of compatible hardware, see our Hardware Support page.
Add and Patch Your Fixtures
Once your DMX interface is connected, the next step is to patch your lighting fixtures. You can either:
- Use built-in fixture profiles
- Import your own custom profiles
- Download ready-made profiles from the Profile Library (requires a free or paid account)
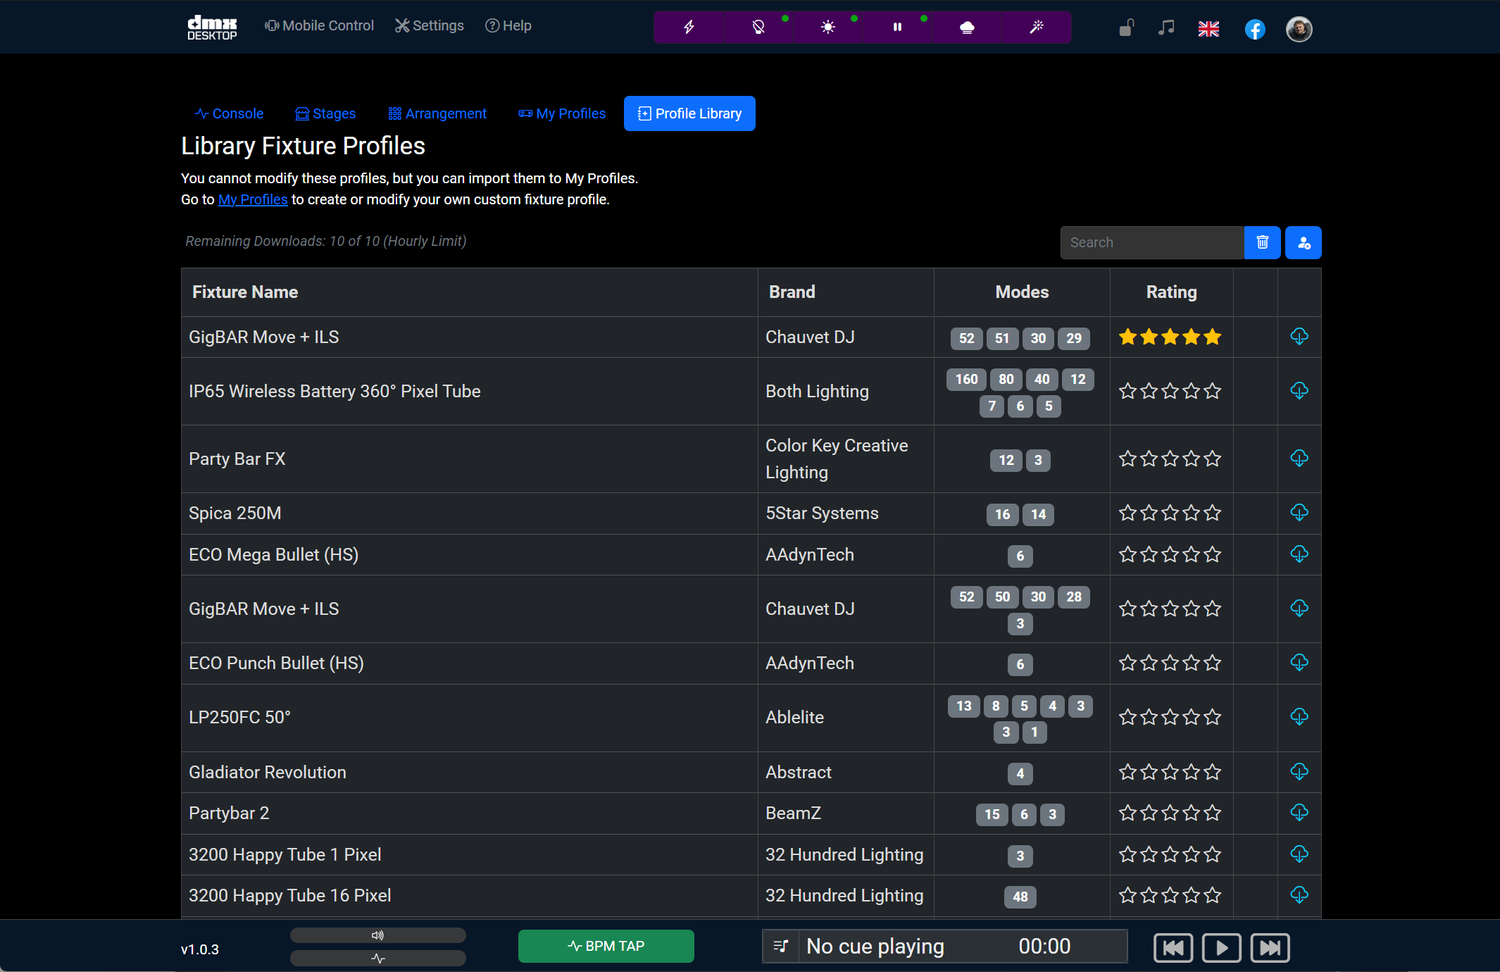
Using the Profile Library
DMXDesktop includes around 27,000 fixture profiles covering most major brands. Here's how to find and add the right one:
- Go to the Profile Library tab.
- Search or browse by name, brand, or mode.
- Click the Clone icon to add the profile to My Fixtures.
- It will now be available offline for patching.
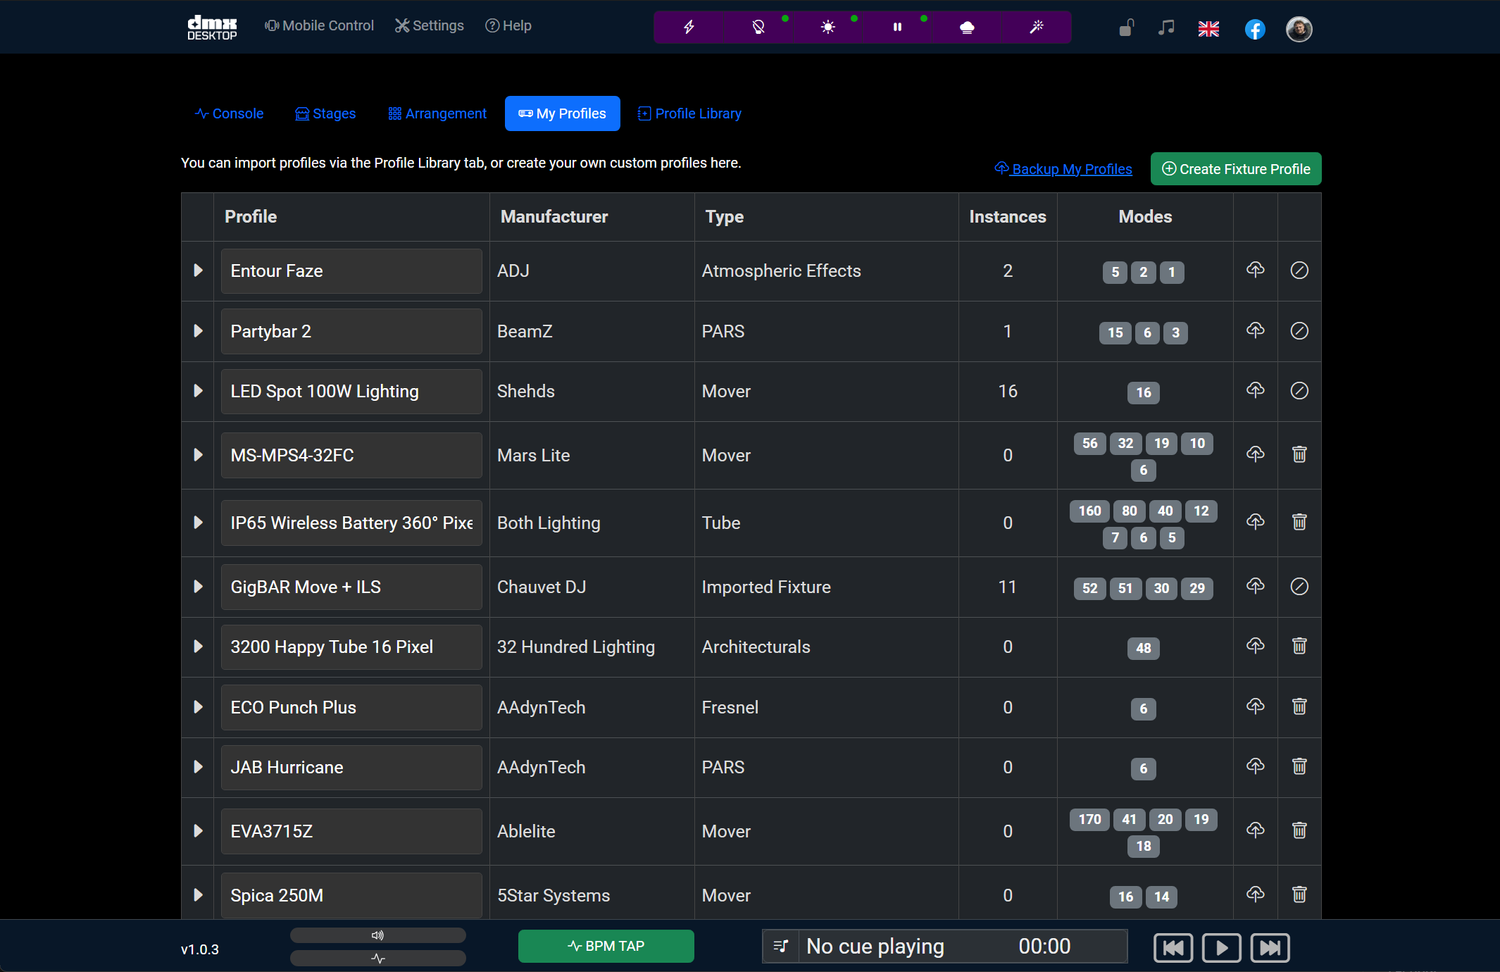
💡 Note: You can only "edit" profiles in My Fixtures - downloaded copies are fully customizable.
Patch Fixtures to the Stage
After adding your fixture profiles:
- Click Patch Fixture at the top of the screen.
- Select fixtures from My Fixtures.
- Choose the Universe, Mode, and Start Address (auto-filled to avoid overlaps).
- Click Add to patch them into your virtual stage.
DMXDesktop will warn you if a fixture overlaps with one already patched - be sure to check spacing and channel range.
Once you have the fixtures you need, the next step is to "Patch" the fixtures to your stage. You can use the default stage that comes preloaded, or create a new one via the Add Stage button on the Stages tab.
To patch a fixture, simply click the "Patch Fixture" button on the top of the page, and search through all the fixtures in "My Fixtures". Then select the fixture you want to patch, set its Universe ID, Group, the Mode (different modes usually require different numbers of channels), then set the DMX Starting Address. The Start Address is usually prefilled with the next available space in the selected universe, but you can adjust it according to your needs.
If you attempt to patch a fixture with channels which would overlap another already patched fixture, it will show you a warning and you will need to fix the DMX address before you can continue.
You can repeat this process for all of your Profiles until you have your Stage and Groups set up how you want them.
Remember that it's always good to group fixtures by their positions and not just their types, as you will run effects later by group. If you want to have different effects on different clusters of fixtures, you can achieve this by sensibly planning your fixture groups.
Once you have patched all your fixtures, you can start testing and adjusting. The main things you want to do are:
- Adjust their Positions via the Arrangement Tab. Here you can "Drag and drop" fixtures by grabbing them with your mouse (or finger, if you have a touchscreen enabled device!) and move them around, you can also move them to different groups.
- Once the positions are set up how you want them, remember to click the "Save Layout" button to store the positions.
- You can also click the Bulb icon on any fixture to make only that light up, so you can check its position.
- You can start an "Identification" process via the "Identify" function, which will cycle through every light from left to right lighting each one for 1 second, this helps you make sure your lights are in the order you need them.
Once you have completed these steps you are ready to test!
Launch a simple light show in just a few minutes
Check out the sections on Effects and Effect Cues for more information on testing the effects, and how you can run your very first light show in a matter of a few clicks.